
Canon printer installation certainly can be a bit perplexing. But not anymore, as this Canon printer setup guide gives you a hand all through the steps from unboxing to printing the first page. No matter if you are a novice or need quick assistance, just follow this straightforward process and your Canon printer will be up running smoothly.
1. Unbox & Prepare
Take your Canon printer out of its box and get rid of all the protective tapes and materials. Place it on a steady surface close to a power outlet.
2. Power & Ink Setup
Switch on the printer after plugging it in. Install the ink cartridges that come with the box and ensure that they lock in place. Place plain A4 sheets in the media tray.
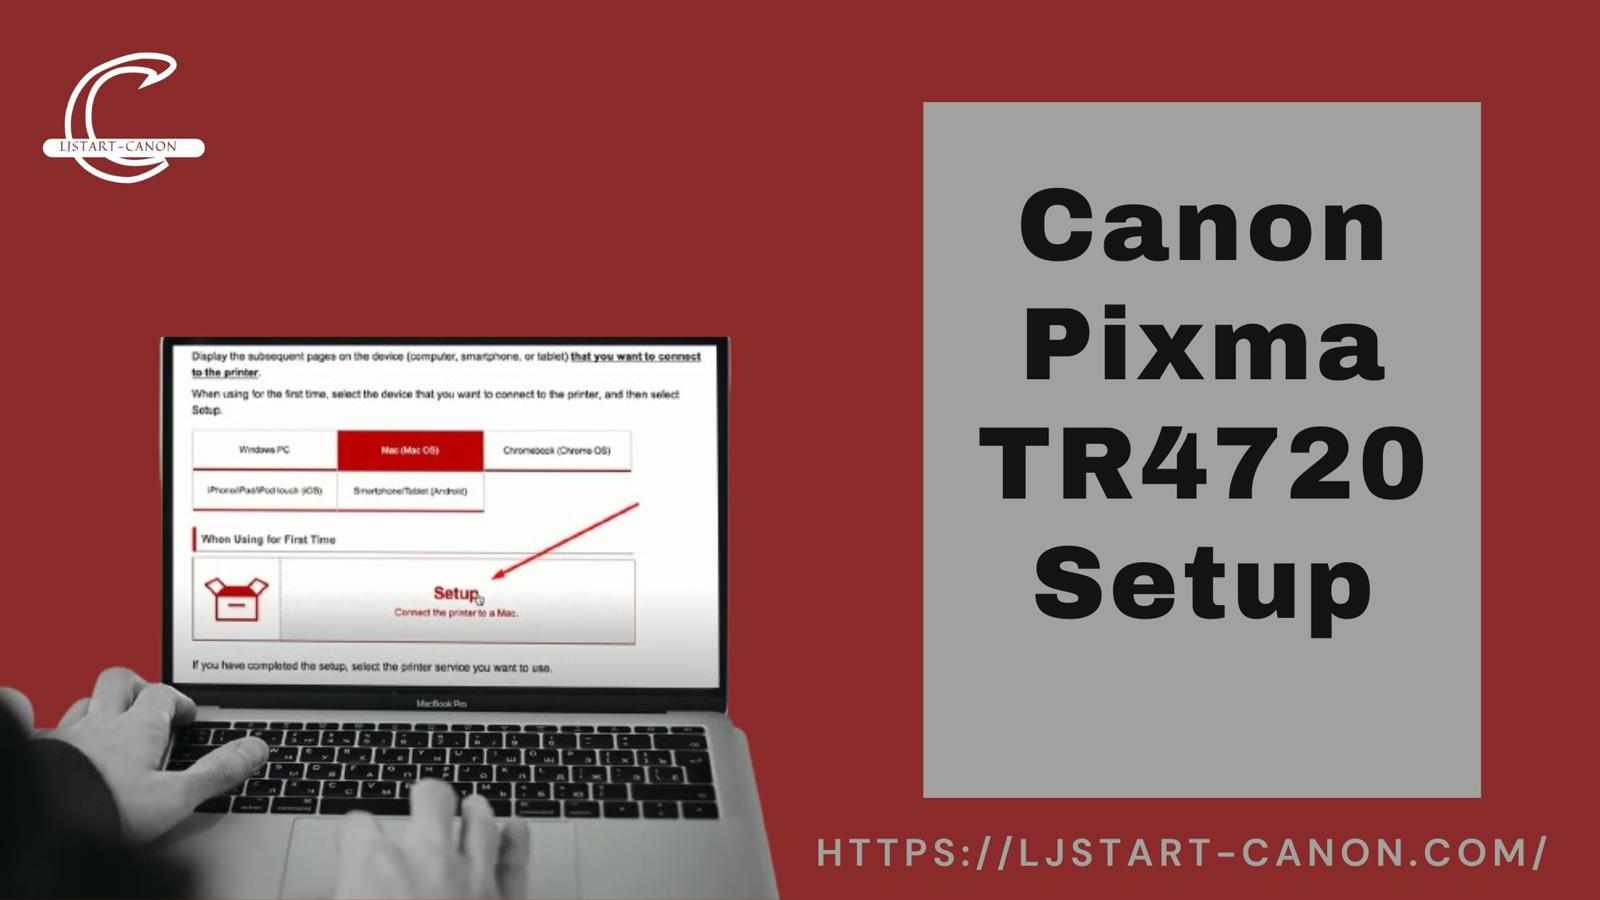
3. Visit Setup Website
Use a web browser on your computer or mobile to access https ij start canon, the official Canon setup portal. Choose your printer model and get the newest drivers and software. This is to make sure that your printer is totally compatible with your operating system.
4. Install Drivers & Software
Open the downloaded file and do as the on-screen instructions say. Agree to the terms and select the connection type — USB or Wi-Fi. If wireless is your choice, then pick your home Wi-Fi network and type in the password.
5. Connect & Test
The installer will complete the setup once you are connected. Make a test print to check that everything is working well.
Troubleshooting Tips
If you experience difficulty connecting the printer, try rebooting the router and printer, checking that Wi-Fi password is correct, or downloading the drivers again from https ij start canon.
Becoming a Canon printer owner comes with a lot of advantages! You will be able to print, scan, and copy whenever you want in no time!

Write a comment ...